9 Awesome Drills to Practice Bowling at Home
If you’re an avid bowler, chances are you love the sport and strive to be better. We all know practice makes perfect, so there’s no doubt you get to the lane as often as you can to enjoy a game or two and get some training in. But what about when you can’t get to the alley—how can you keep your skills sharp?
There are several awesome drills you can do to practice bowling at home. From working on your athletic approach to the footwork, swing, release, and more, you can enhance your skills from the comfort of home. These drills build on your technique and help you be the best bowler you can.
There are also a few things to consider before you get started with your drills. Review the fundamentals of great bowling techniques, so you know what you’re focusing on. Ensure you have the necessary supplies and environment to make the most of your efforts, and read on to dive into some excellent drills.
What Are the Fundamentals of Great Bowling Technique?
When it comes to sharpening your skills and upping your bowling game, it’s a good idea to review the fundamentals of what makes a great bowler. There are many elements to keep in mind.
The Approach
Your bowling approach is one of the most critical skills for your bowling game. A better approach makes you an overall better bowler. With a great approach, you’ll see higher bowling scores and enjoy greater success in the sport.
So, what exactly does a great approach mean? It has to do with how you approach the foul line. You need to position yourself between the preparation floor and the platform. In a perfect world, you’ll find the ideal position that’ll determine your walk towards throwing the bowling ball.
The experts at Scene 75 suggest you time your approach steps as follows:
- The ball begins to move out
- The ball moves down
- The ball back and your knees bend as you lower your body towards the ground
- The ball moves down as you get ready to swing and release
The Ball Hold
How you hold the bowling ball is undoubtedly related to your overall success as a bowler. The correct ball hold can set the tone for your entire bowling game. A fantastic bowling ball hold means knowing the ball’s hole position and angle as it leaves your hand.
One tip for a successful ball hold is to use a bit more gripping pressure on the finger pads of the hand than you have on the thumb pad. Maintain consistent gripping pressure the whole time you’re swinging.
You’ll want your thumb to release a split second before the fingers do. This is so the fingers have a chance to affect the rotational action of the ball, which will send the ball down the lane with the rolling and hooking motion that you want for maximum pin knock-down.
The Swing
Your swing is a crucial part of your overall bowling success. The ideal path your swing takes, often referred to as a swing slot, is where you can rely on gravity or a very natural feeling swing motion to achieve the tempo needed for a release at the ideal ball speed and angle.
It’s essential to be mindful that your hips and legs don’t get in the way of the swing path, and avoid arcing the ball around your hips or other body parts. Don’t just let your body dictate your swing path as the ball makes its way front hat backswing to delivery.
Remember that the swing path means the whole path, including the backswing and forward swing, related to the sighting target down the lane. Combined with great footwork and walking pattern, as long as your hips and legs stay out of the way of your intended swing slot, you can hook the ball a lot or a little and get an excellent delivery angle every time.
The Release
The release of the bowling ball is another crucial element in achieving a high bowling score. To perform a wow-worthy release on a consistent basis, you need first to master proper gripping, as mentioned above.
Once you have a confident grip, you can develop your release to become a versatile tool to elevate your bowling game. The fundamental release components are:
- A wrist rotation
- The fingers release from their holes
- The thumb exiting the ball
The shocking part? These three things happen in a combination series that is here and gone faster than a blink of an eye, less than one second. Therefore, working on this skill and making changes to a particular part of it can be harder than one may think. We have a few drills below that focus on the release to help target this crucial part of the bowling technique.
Interestingly, geometry is a key element when it comes to bowling ball release. You want your ball to spin smoothly, incorporating both the two axes of rotation— this means both vertical and horizontal rotation. You’ll want to practice giving the ball different spins. The way your hand is positioned during the release does affect the ball’s trajectory.
Keeping sturdy balance during the release and finish is a crucial part of developing the hand tricks you’ll use to strike again and again.
Aim
Ready, aim, fire. Where you aim is crucial to a superb bowling game. Clearly, a precise aim means you’ll knock down more pins. Knocking down more pins means higher points, and higher points mean you win more!
Many beginner-level bowlers think that staring at the pins will lead to successfully knocking them down. While it might, you should line yourself up with the target you’d like to hit, and instead of looking at the pins, follow the path your ball takes to that target.
You might also consider looking for reference points on the lane to aim for. These may be items like the arrows on the floor, which can help with a more accurate aim.
As you get to know your own bowling style and become adept at evaluating the lane’s quality, you’ll learn which floor arrow to use as your aim point. If you usually throw a pretty straight ball, the center arrow, which leads to the center pin, should be your target to aim for.
Footwork Timing
Footwork refers to how your feet move during your bowling. Whether you’re a person who takes a three, four, or five-step approach, the way your feet move matters. This encompasses how your legs cross slightly over the other to help clear the ball path, how you step, how your knees bend, and how your ankle rolls on the final release.
The National Bowling Academy demonstrates skilled footwork in this short video:
Balance
According to Bowling Ball, good shot-making in the sport is dependent on good fundamentals in the approach coupled with good bowling balance.
This stable balance is a result of maintaining proper body posture during your approach. To sustain outstanding balance, avoid rushing your approach and hold your form at the foul line after the bowling ball is released until it reaches the pins.
Flexibility
If you want to perform all actions of bowling fully, you need some degree of flexibility.
According to CapitolBowl, “Those who are more flexible will have a much lower risk of muscle strain and sprains.” You can sneak in simple stretching exercises into many activities you do every day, whether it’s stretching your shoulder at a stoplight or loosening up your hamstrings before walking to the mailbox.
You may add stretching before or after your warm-up, cool-down, or midway through any of the drills that we’ll list below. Staying limber is a crucial element for any healthy body, and it absolutely helps you be a sensational bowler, as well.
What You Need for Bowling Practice Drills at Home
Before you start with bowling drills at home, run through this checklist to make sure you have what you need for a successful, productive, beneficial drill:
- Bowling ball or anything with some weight to it: This could also be any hand-held item that weighs about the same as your ball, like a dumbbell or kettlebell.
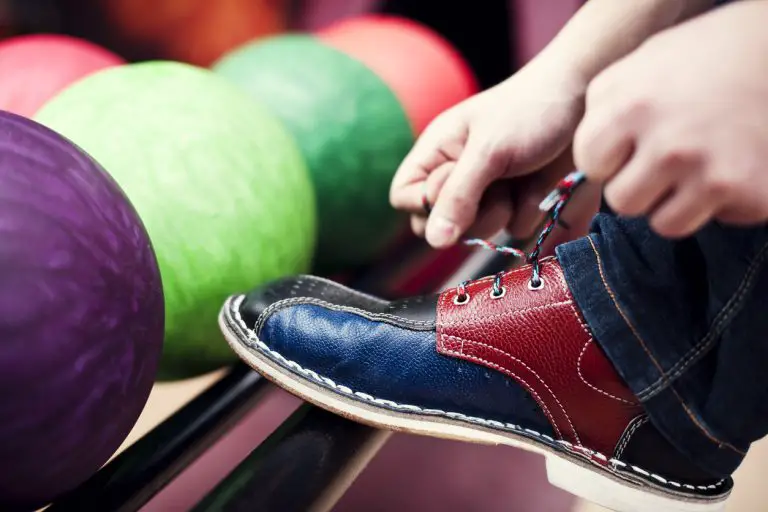
- Shoes: In our drills, you won’t be working on sliding, so you don’t need to wear bowling shoes. Athletic sneakers will work great.
- Full-length mirror: This will be helpful to check your form and adjust as you practice the drills.
- Sixteen feet (4.9 meters) length of hardwood, linoleum, or similar floor: You’ll need this space for the target alignment drill for aim.
Some drills may suggest additional optional supplies or setup, so look for those notes indicated in each drill. Additionally, you may consider adding your own supplies, such as a cup to place your ball in or a chair, depending on what you’d like to get out of the drills.
As you run through these drills, you may find yourself chuckling at the minute details you’re working on as you watch yourself in a mirror. Even if they seem laughable, remember that these are crucial aspects of your bowling skills, so what better place to hone in on them than in the comfort of your own home?
Ready to get started? Here are nine awesome drills for you to practice your bowling techniques and grow your skills from home:
An Amazing Athletic Approach
This drill will help you release the bowling ball as accurately as possible while avoiding squeezing it. You won’t be releasing the ball in this drill, so you can practice it anywhere in your house. In front of a full-length mirror would be ideal.
Hold your ball. Focus on a strong, steady, and athletic posture with good balance. Try not to stand too upright, and focus on flexing your knees just a bit. Keep your head still and upright, then pretend to release the ball. Repeat!
The experts at Bowling Ball offer a fantastic visualization tip to keep in mind during this drill: “Visualize the high-wire acrobat at the circus walking the wire with a very steady head and in a straight line as to maintain good balance and to successfully traverse the wire. Remember, less moving parts, less chance for error!”
Your goal is to consistently deliver the ball to the target in an accurate, robust manner, but you can’t do that if your body isn’t balanced throughout this vital step.
With more and more practice of your athletic approach, you will build strength in your upper body and create steady movement. This way, the next time you find yourself releasing a ball down the bowling lane, you’ll more naturally keep your upper body movement steady, which aids in a great swing.
Foolproof Fancy Footwork
The way your feet move while bowling is important for your overall skill level. If you struggle to improve at bowling, it can almost always be linked to incorrect footwork timing.
To get the timing down, you can engage in this footwork timing drill at home or just about anywhere. It’s all about pacing your steps.
The ideal footwork before you release the ball should come in at about one step per second. Looking at a clock, get the pace for each second. Feel the pace in your head, count it out loud, tap it with your toe, and pat it with your hand on your leg. Let that pace become ingrained in your brain before picking up your ball.
When you feel that beat, hold your bowling ball and set yourself up in your starting stance. Next, begin setting your steps to the right speed of one per second. If you’re a beginner, practice a four-step approach. More advanced bowlers may use a five-step approach.
Count out loud as you match your steps. Pay particular attention to staying on pace with your last two steps, which are crucial and easy to rush. Make your arm swing match the steady tempo of your steps. Rinse and repeat!
Ready, Set, Freeze at the Foul Line
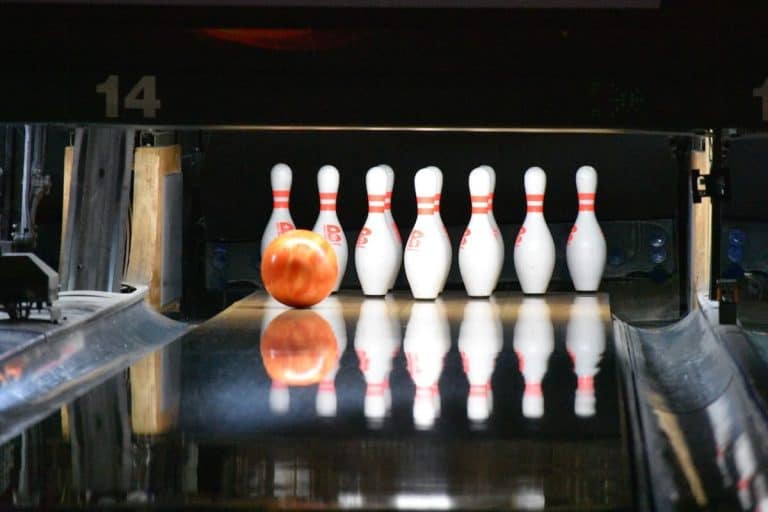
For this drill, get to a spot where you have that pseudo-lane setup with 16 feet (4.9 meters) of hard floor available. Set up a pin (or ten) if you have them, or otherwise try a soup can, water bottle, or similar item you have at home to be your target. Grab your ball. You will be focusing solely on holding your position steady at the foul line until the ball passes the target you’ve set your sights on.
Go through the swing motion and then stop while holding steady. Avoid moving your head at all until the point the ball leaves your hand and passes your target. Hold steady at the foul line and maintain eye contact on your sight target until the ball passes it. You’ll know in an instant if you were successful, or by how much in which direction you missed, which will help you in your game in the long run.
This split-second hold at the foul line is a habit that’s easy to slack on, but it’s crucial. On average, it only takes between 2.1 and 2.5 seconds for your bowling ball to get down the lane and contact the pins. It’s usually less than just one second to reach the targeting arrows. Holding your form and follow-through position while maintaining a robust and steady balance for that critical split second of ball release is so important.
If it helps you get a feel for this pause and remember it each time, imagine you’re holding still for long enough at that point that a photographer could snap a fantastic shot of you right then and there (for the cover of Bowlers Journal International, of course!).
Getting good at this hold is vital to achieving consistently accurate results. If you practice it in your drills enough, it’ll help you achieve discipline in this area that will form a habit. This will, in turn, help you with discipline on other elements of your bowling form.
Working hard towards a balanced, steady ending position can positively affect all the motions you make leading up to this part of your swing.
The Target Alignment Tango
If you’re going to hit the pins, you have to have accuracy. With the same setup as the previous drill’s makeshift at-home lane, practice aiming for your target. You’re going to practice lining yourself up with a target and trying to hit it accurately and consistently.
Right-handed bowlers should place their left foot about five alley boards (or about five inches or 13 cm) to the left of your target. Left-handers can put their right foot about five alley boards to the right of their target. If you’re an avid bowler who can envision those alley boards even at home on your basement floor, that’s great! If not, grab a tape measure to check your spacing.
Hold the ball at the center of your body and begin your approach. Swing as usual with this aim technique.
Bonus drill tip: As an added challenge to make the most of this target alignment drill, try closing your eyes after you align yourself with your target. Challenge yourself to maintain excellent form even with your eyes closed and still hit the target.
Hand Position Release Switch-Up
According to the United States Bowling Congress, a well-developed release can be “one of the most versatile tools in your arsenal.” Work on that release with this simple drill at home.
Since this drill is about the release, having a target doesn’t matter. Find an area where you can throw the ball into a couch, recliner, cushion, or a safe spot where you won’t cause damage or injury. Get ready to isolate and focus on the feeling of the hand position at the release.
You’re going to rotate through these different types of hand positions:
- Relaxed hand position: Straight ball path, very little hook, low number of revolutions
- Firm hand position: Arched ball path, medium hook, mid-range number of revolutions
- Strong hand position: Angled ball path, maximum hook, lots of revolutions
Pick one hand position to try first. Set yourself up, grip the ball, and practice an abbreviated release version. At first, try no steps at all and concentrate on how the hand position feels as you gently throw the ball into your designated area.
Next, spend ten or more repeat releases where you take just one slow step, close to the foul line, and throw.
Once the slow single step swing feels good, try isolating the release by working back to two steps, then three, and more. This will train you to always focus on the correct feeling of whatever hand position you’re implementing. You’ll find more success with this than attempting a brand new hand position at full speed.
Rotate repeating this drill changing between a firm, relaxed, and then strong hand position technique, changing each time in your stance. These will change the way the bowling ball will roll on the lane.
All About the Release Angles
With the same setup as the drill above, repeat the release drill. This time, keep everything the same except change up your ball release:
- Straight ball release: This technique isn’t going to knock down strikes, but it’s just what you need for racking up the spares. Stay behind the ball while throwing it straight by setting up with your hand underneath the ball. Make sure your thumb stays towards where the pins would be, and your fingers stay in the back of the ball throughout the entire follow-through and release. Your hand’s palm will end facing up.
- Hook release: Here’s what you need for those strikes since it’ll provide some angle leading into the pocket. You’ll start by cupping your wrist and moving your hand just barely to the ball’s side during setup. Thumb will exit, the wrist will rotate, and the fingers will exit. That wrist rotation is critical. It means your fingers are slightly rotated around the ball’s side by the time they leave the holes.
The United States Bowling Congress reminds you that, even though you’re starting both these release angles in different hand positions, it’s okay if your hand finishes with your usual release both times. The overall swing’s momentum and how fast it happens may bring you to the same endpoint, and that’s perfectly fine.
Lazy Man’s Release Rotation
For extra practice on your release, here’s a drill you can do from the couch at home as you catch up on your favorite show. Use a football—anything from a small foam one to a standard one will do the trick.
Bowlers Rod Ross and Bryan O’Keefe from the National Bowling Academy demonstrate this drill in this video. Watch along to see how you can practice the rotation in your release at home:
If you’re a righty, you’re going to toss the ball up and down to yourself with a slight counterclockwise spin. Your fingers will do all the work—your fingers rotate around the football itself as it tosses up and back down.
Then, try a slightly different technique where you let the football roll down the fingertips as your hand stays straighter in line. You’re still making the ball spiral, mimicking the spin you’d put on a bowling ball as you release it.
Pushaway Drop Like It’s Hot
Note: For our last two drills, the experts at Art of Bowling walk you through them in this video (plus one more release drill, similar to the one we mentioned above). Take a look and follow along:
Stack up pillows on a chair to the height where the ball drops in your pushaway. Get your favorite bowling ball, relax your stance, bend your knees, and push the ball out over your big toe. Let it land right on the pillows. Stop, and reset to repeat.
This drill will help you maintain good timing, so practice it multiple times per week.
Straight as an Arrow Swing
Optional equipment: Swing Trainer from Eileen’s Bowling Buddy or light ball in a ball sling.
Stand in front of a full-length mirror for this one. Get in a swing stance with one leg crossed behind the other and knees slightly bent in a lunge. The arm on your front leg side should swing slightly backward and freeze. The free arm on your back leg side will hold the Swing Trainer.
With control, swing that Trainer forward and backward, keeping underneath your head. Curl the toe down and make sure knees are bent, keeping a good finish position. Make sure your Swing Trainer doesn’t wobble on the way down. Just let gravity do the guide, don’t pull your arm down. Let the ball swing the arm, not the arm swing the ball. Feel that free-flowing motion with very minimal tension in your arm.
You can further isolate your swing movements and focus on that form by kneeling with your bowling side knee on the ground. Make the same swing motion and deliver the ball towards the target using that arm only. This continues building your balance and developing a naturally strong swing.
Tips for Further Developing Your Bowling Skills
Outside of practicing these drills, to be the best bowler you can be, you should focus on staying limber, improving your balance, and maintaining your overall fitness level.
Your bowling skills are just as good as your body’s ability to play the sport. To achieve peak performance at the bowling alley, help your body to be in its best, healthiest, and strongest condition. Stretch daily, engage in cardiovascular exercise, and do weight training.
If you have a gym membership, use it regularly. If you have a home gym, spend time there. If not, you can still do traditional exercises like sit-ups, push-ups, and squats to elevate your overall fitness level, which will allow for better results as you work on your bowling skills.
Here is a list of exercises specifically for bowlers, complete with how-to instructions, courtesy of Hobby Seekers:
- Lunges
- Overhead stretches
- Cross stretches
- Dumbbell curls
- Cardio exercises
Conclusion
Whether you’re staying home during the pandemic and unable to get to the bowling alley, or if you just want to enhance your skills from the comfort of your home between alley time, you’re going to be building skills with each drill. As you work the drills, all the key elements of your technique will be fine-tuned, and your average score is sure to skyrocket.
Sources
- Bowlingball.com: How to Become a Better Bowler
- Bowlingball.com: Bowling Balance Practice Drill
- Scene 75: 5 Techniques for a Better Bowling Score
- Bowlingball.com: Your Bowling Swing Slot
- United States Bowling Congress: Developing Your Release
- Planet Bowl: Increase Your Bowling Skills With These 10 Practice Drills
- Capitol Bowl: Fitness Training for Bowling
- Hobby Seekers: Best Exercises for Bowlers – Level Up Your Game!
- Mounts Bowling: The Dimensions of a Bowling Lane (All of Them)
- Hobby Seekers: How to Practice Bowling at Home: 4 Drills to Try